If you have installed the Sage Timesheet App from your devices app store, you can follow these instructions to create and submit your timesheets.
- When you open the for the first time you'll be taken to the login screen. Click login and fill out the company ID, username, and password to match the account you created when you received your invite email.


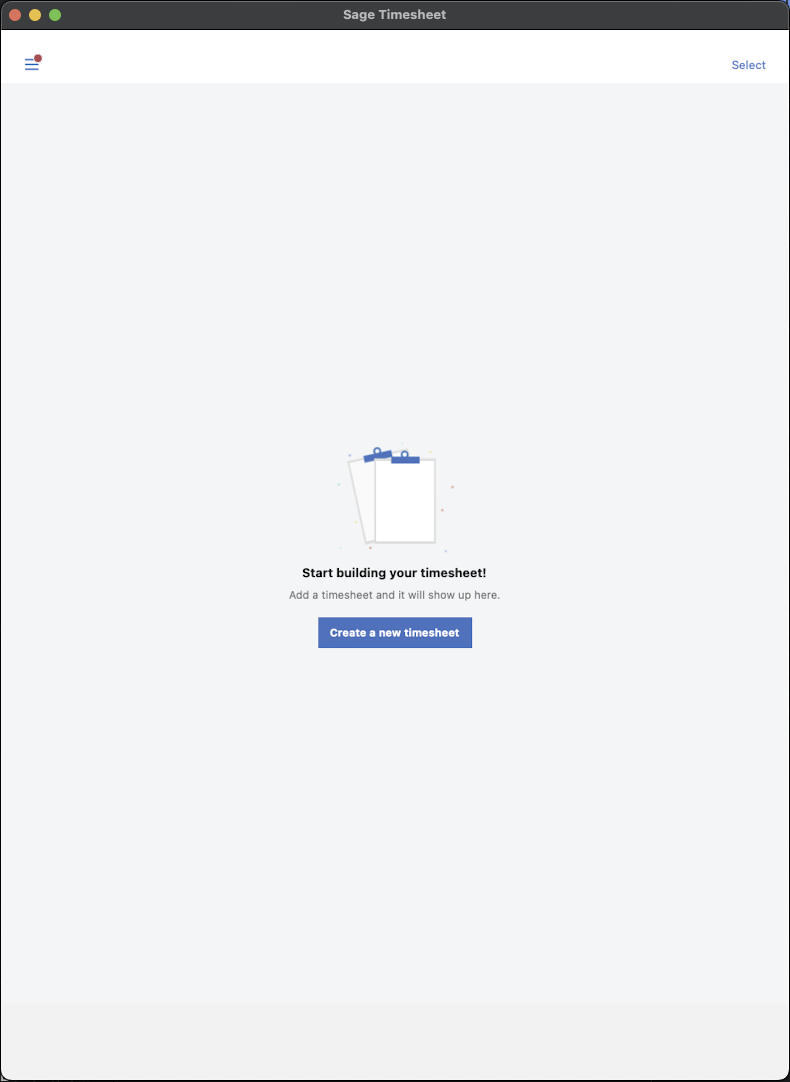
- After you login you'll be taken to the Sage Timesheet app homepage. Here you can begin your time entry process by clicking on "Create a new timesheet"
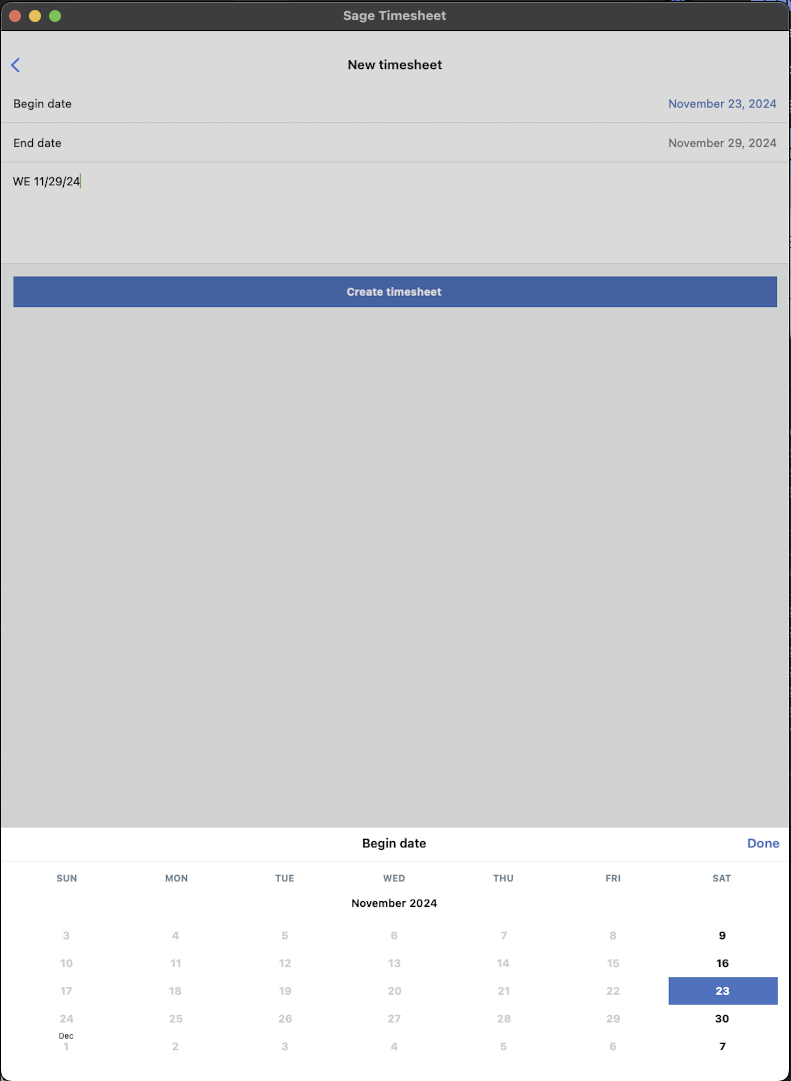
- This will bring up a new page for you to create your timesheet. You'll need to first pick the "Begin date," doing so will also set the "End date" automatically. You'll also need to be sure that you enter in the week ending date into the timesheets description field: WE MM/DD/YY
- Then click "Create timesheet"
- You'll be taken back to the newly created timesheets time entry page. Here you can click on a specific date, or click the blue circle with a "+" inside to start a new time entry.

- On the "New time entry" page you'll need to select the Date, Project, Task, and add your note all before saving the entry. You'll have to pick out the project before you can pick out a task.

- Clicking on the project field will bring up the project search menu. Similarly, once you select a project the task field functions the same way.

- After selecting both the project and task, then you'll enter your time in hours worked for that task as well as information about the performed task in the Notes section.
- Click Save at the top right to save that new time entry to your timesheet. You'll need to repeat these steps to enter the time for each task for each project that you worked on that week. Below is an example of what a partially completed timesheet looks like.

- Once you're added all your weeks time entries, you'll then click the Submit button at the top right of the timesheet page. All the tags labeled "Draft" will change to "Submitted" for that timesheet.
- Before you submit your timesheet, you can edit a time entry by simply clicking the entry to reopen the time entry page and make your edits.
Was this article helpful?
That’s Great!
Thank you for your feedback
Sorry! We couldn't be helpful
Thank you for your feedback
Feedback sent
We appreciate your effort and will try to fix the article